Now there is a couple of ways to change the color of digital elements you already have (a great way of getting more bang for your buck!). Which method you use all depends on the range of colors. For fonts and single colored elements I use this quick and easy method
The letters I used for my title are Lisa Sisnero’s Cracked Rub-on Alphabet that can be found at http://www.littledreamerdesigns.com/. After opening each letter I dragged it to my document
 When you get each letter positioned you are going to merge the layers into one layer.
Layer>Merge Down or Ctrl-E. Start at the top of the letter stack and hit Ctrl-E until all the layers are merged onto one layer. This will give you all the letters on one layer without merging it to the background.
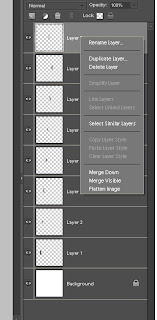
-If working in Elements you can hold down the Control key and click on all the layers and then right click and hit ‘merge layers’
From here you are going to change your foreground color to the color you want to change your letters. Edit>Fill Layer. On the menu make sure you put in as your options - foreground color and click on the ‘Preserve Transparency box’.
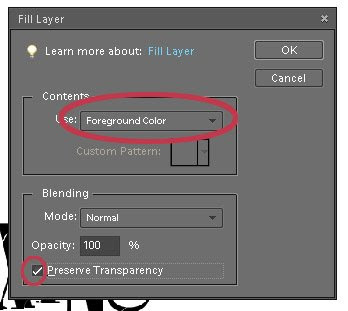
The Preserve Transparency is what allows you to change colors; it fills in your element with a single layer of color and leaves the rest of the layer exactly what it says - transparent.
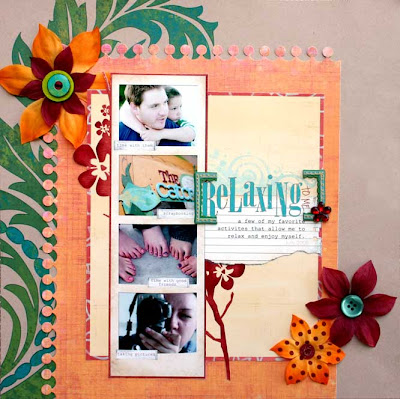
Now click ok. My letters are now a nice teal color to match what is going on in my layout.
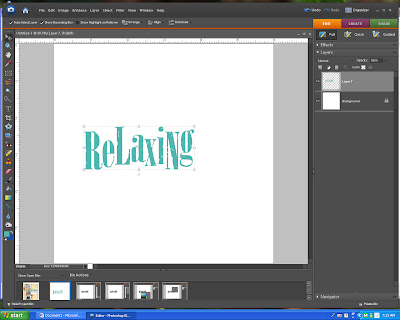
and my finished results.
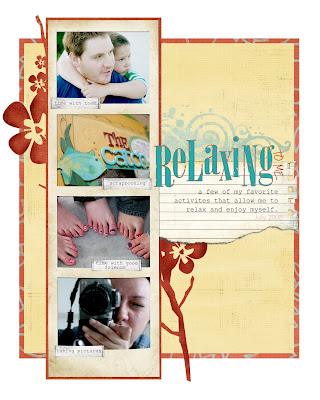
 Coming next month: a series about adjustment layers - the best thing since sliced bread!


5 comments:
Wow, the details of this amazing creation are wonderful! LOVE that you showed us how you started!
this is awesome. I wish I had the patience to do digital
I am SO going to try this!!!
Wow Nicole...the instructions are awesome! And I LOVE that lo!
Awesome instructions...love the layout!!!
Amazing details with this!
I love the digital elements -not just what was in the tutorial.
~L
Post a Comment