Watercoloring with Inkpads and a Waterbrush
by Lynn
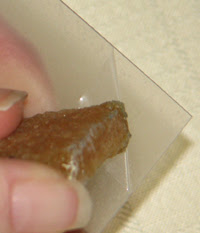
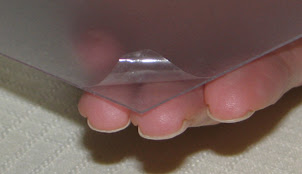
First let me start with the "light bulb" moment. I love using clear acrylic to create my own embellishments and clear albums. The anoying part is getting the protective film off the pieces. A Xyron Adhesive Eraser lifts the edge of the film effortlessly. Oh my word!!!! I could not believe how slick it worked and why didn't I figure it out sooner.
Supplies:
A piece of clear acrylic -with the protective film removed from at least 1 side.
Inkpads
Waterbrush -filled with water
Papertowel
Prima Paintable Page
 One Method
Step 1:
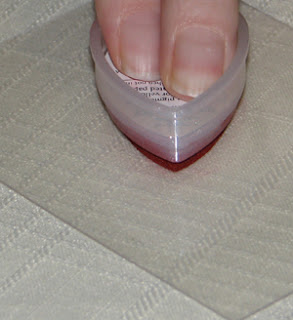
Press the inkpad onto the piece of clear acrylic leaving a puddle or smug of ink.
Be sure the brush tip is wet and create a small puddle of water. This will allow you to pick up just a little bit of water when desired.
Using the brush 'pick' up ink from the ink spot. Don't worry about the ink spot drying out.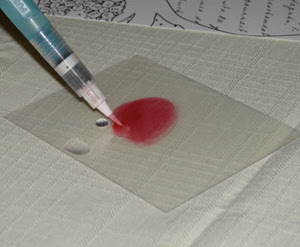 The brush is always wet. And you can use the water puddle to mix a little water into the ink spot if needed.
 Step 2:
by Lynn

First let me start with the "light bulb" moment. I love using clear acrylic to create my own embellishments and clear albums. The anoying part is getting the protective film off the pieces. A Xyron Adhesive Eraser lifts the edge of the film effortlessly. Oh my word!!!! I could not believe how slick it worked and why didn't I figure it out sooner.

Supplies:
A piece of clear acrylic -with the protective film removed from at least 1 side.
Inkpads
Waterbrush -filled with water
Papertowel
Prima Paintable Page
 One Method
Step 1:
Press the inkpad onto the piece of clear acrylic leaving a puddle or smug of ink.
Be sure the brush tip is wet and create a small puddle of water. This will allow you to pick up just a little bit of water when desired.
Using the brush 'pick' up ink from the ink spot. Don't worry about the ink spot drying out.
 The brush is always wet. And you can use the water puddle to mix a little water into the ink spot if needed.
 Step 2:
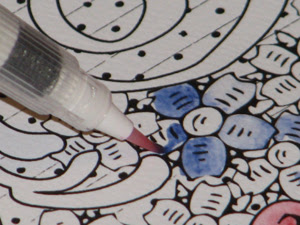
Apply the ink to the paper.
Start slowly. I found long strokes dried faster creating more lines.
And to fix those lines I picked up a little water from the small water puddle. Or you could squeeze the brush a little to add water but I am not an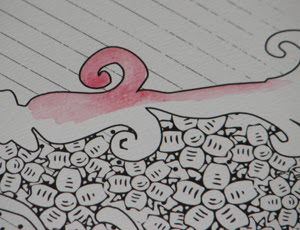 expert painter and tended to get more water than I wanted. To control the color depth (darkness) I used more water to create a lighter color and more ink for darker.
Start slowly. I found long strokes dried faster creating more lines.
And to fix those lines I picked up a little water from the small water puddle. Or you could squeeze the brush a little to add water but I am not an
 expert painter and tended to get more water than I wanted. To control the color depth (darkness) I used more water to create a lighter color and more ink for darker.
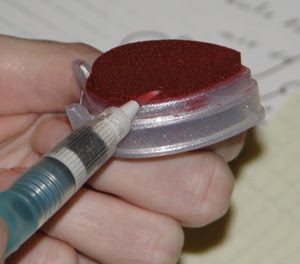 Another way to use the inkpads and waterbrush is to touch the brush right onto the inkpad. BE CAREFUL if you do this. Remember you are adding water to your inkpad -even if you do not actually squeeze water onto the inkpad. For me I was not worried about ruining this inkpad as I have used the heck out of it and it is almost time to replace it. And when I was done I just pressed the inkpad onto the piece of clear arcylic forcing the excess water out.
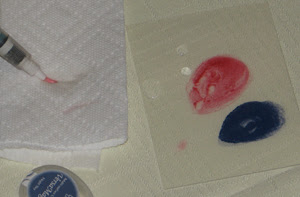
To clean the waterbrush of ink between colors simply squeeze the waterbrush onto a paper towel until it is clear -quick and simple.


2 comments:
Great tips Lynn! Can't wait to see the finished layout.
Lynn I love your tips.. Can't wait to see the finished layout.
Post a Comment