Last month I shared how I proof my photos using adjustment layers and photo filters. This month I’m going to share a few more finishing touches – using the burn tool and making a storyboard. Both are very simple and can be done in just a few steps.
First off the burn tool.
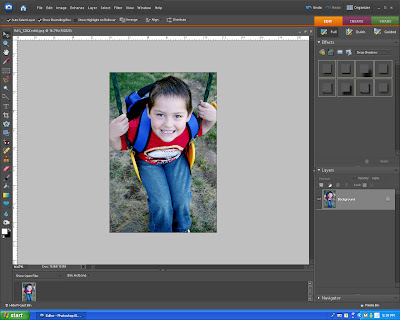
Open your photo and then go to view > zoom out. This will zoom your photo out and help when burning the edges of your photo.
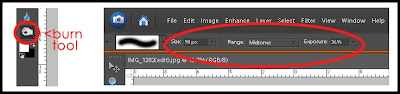
 Click on the burn tool icon in the tool palette. It’s the little hand icon. Then at the top of the screen put in these settings:
Size: 90px Range: Midtones Exposure 35%
Click and drag the tool around your photo to darken the edges. You can go back over some areas to make it as dark as you like.

Photo after using the burn tool.
 Stop here and save your photo.
Creating a storyboard is very simple and often used by photographers to showcase a series of photos. I’ve also seen it used to highlight a favorite photo when placing them into blog posts.
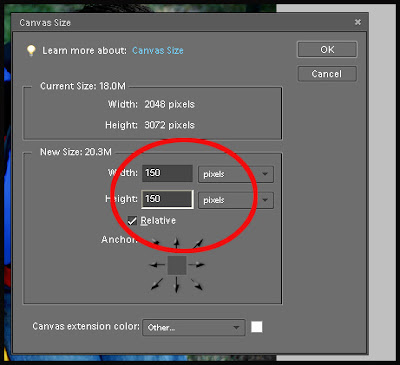
Go to Image > Resize > Canvas size
 In the pop up menu put in the following:
Width: 150 pixels Height: 150 pixels and click on the relative box – click ok.
Your photo now will have a thick white border all the way around it.
Hit ctrl-a (select all) – selects the whole canvas putting the little marching lines around the edges.
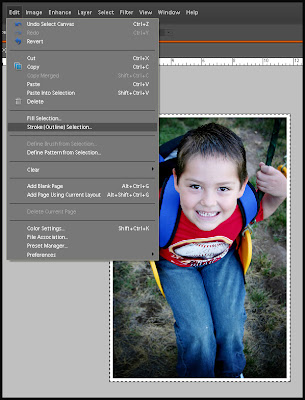
Go to Edit > Stroke
 Select the following in the pop up menu:
Width: 10 px Color: Black Location: Inside

Go back to Image > Resize > Canvas size
Pop up menu:
Width 150 pixels Height: 150 pixels click on relative box – click ok.
Now you’ll have a white space around your photo. A small black outline and then another space of white canvas.
Click the type tool in your tool palette and click on your photo and type subtitle. Click on the move tool and move type into position over lapping the black border.
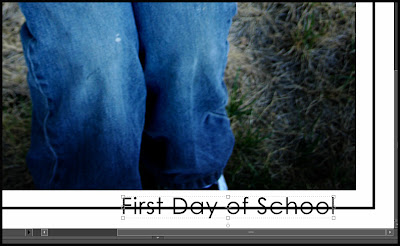 Click on the background layer in the layers palette, click on the eraser tool, and now erase the part of the black border than is going through the subtitle.
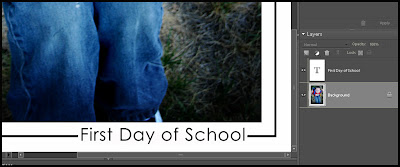 You have now created a very simple storyboard:)
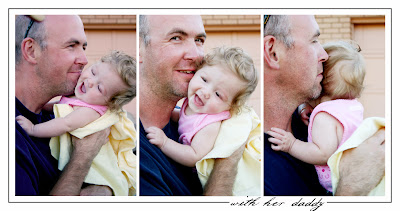
 Here is another example using a series of snapshots to show the bond between father and daughter.


2 comments:
I'm going to have to try this!
I even have the 3 photos in mind to use!
Great instructions!
Post a Comment